
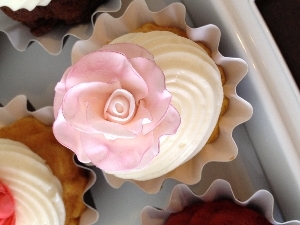
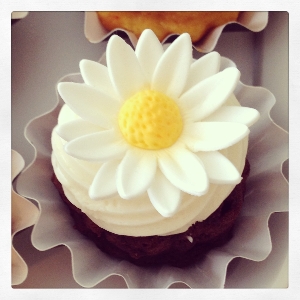
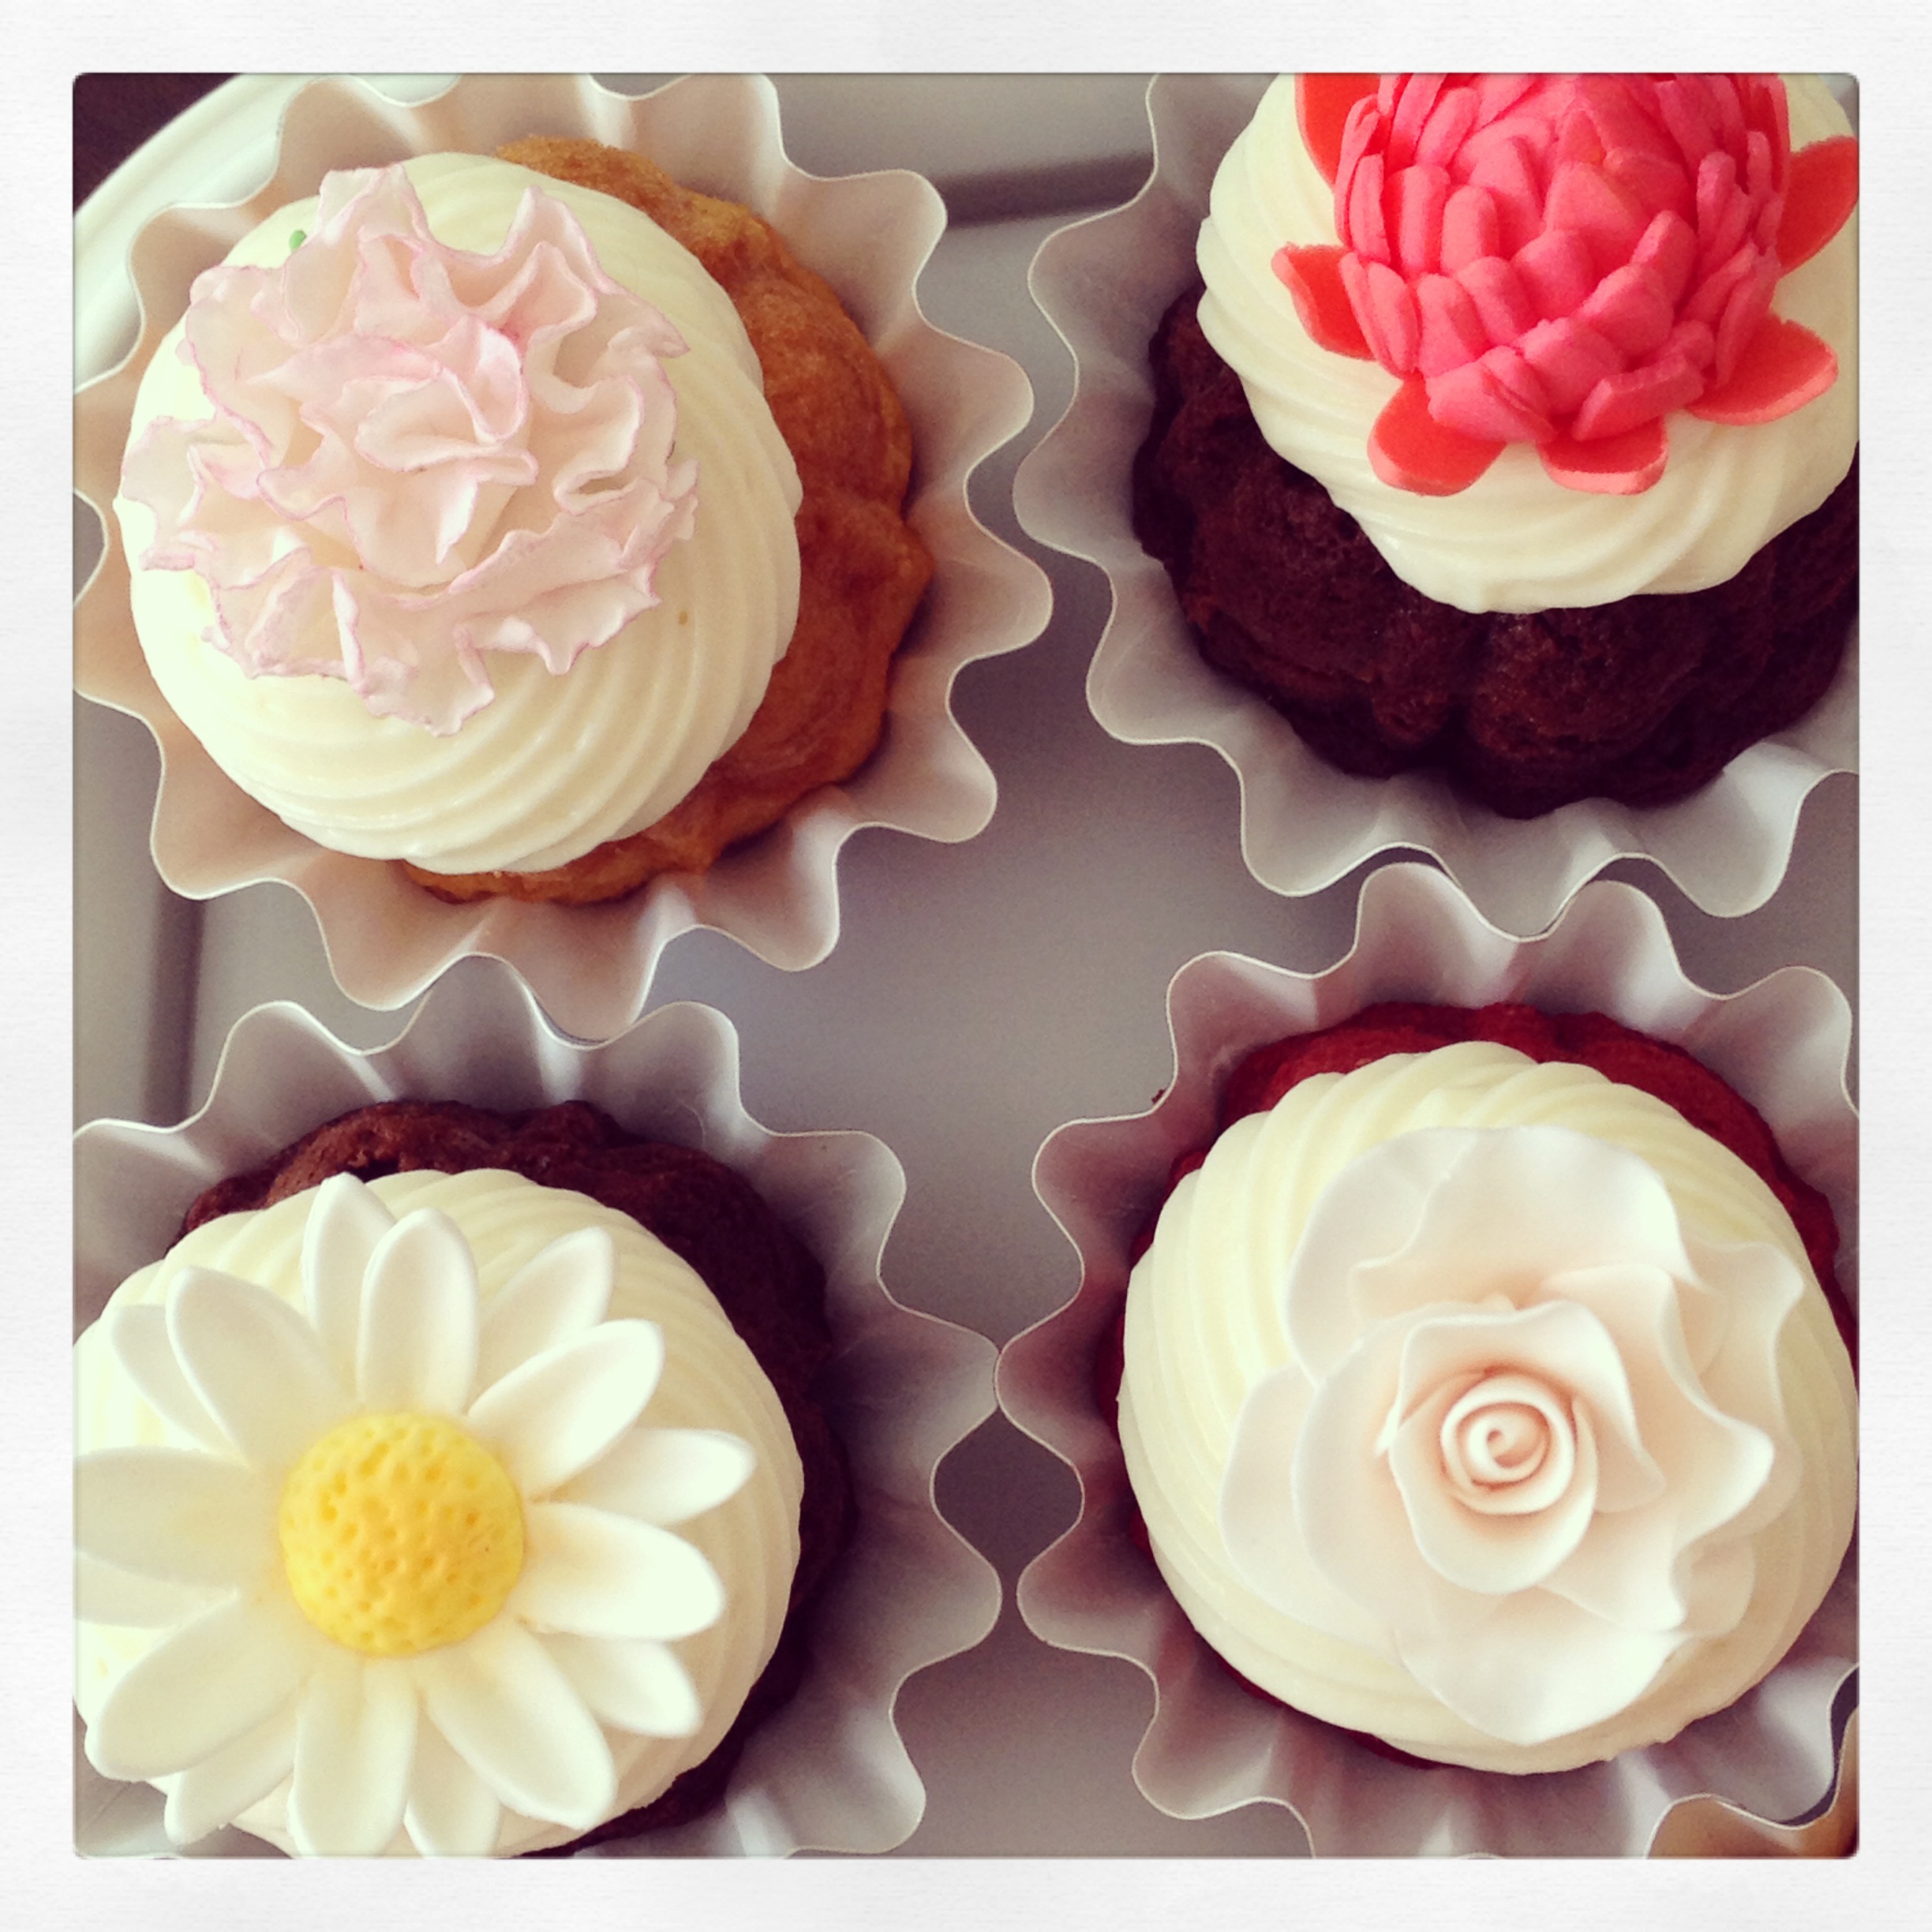
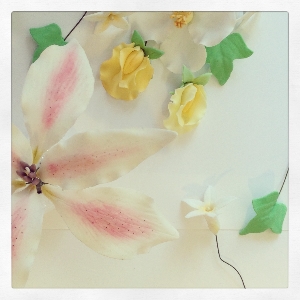
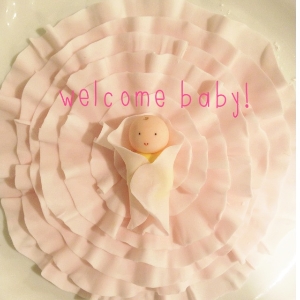
Flowers, Gumpaste, and Fondant
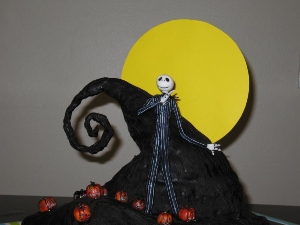
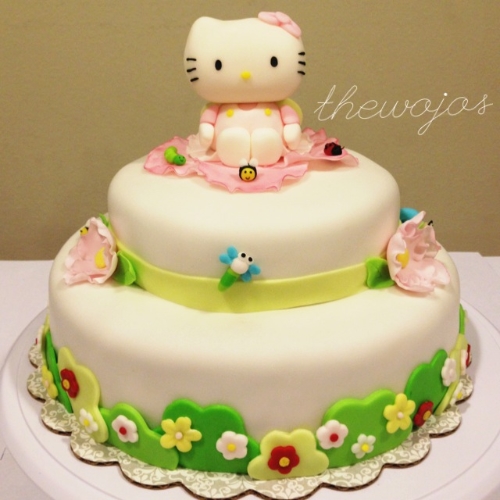
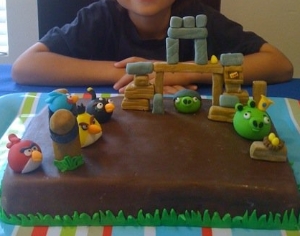
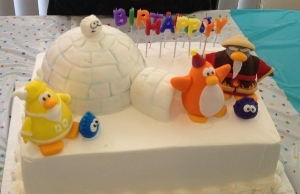
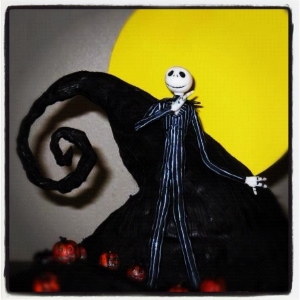
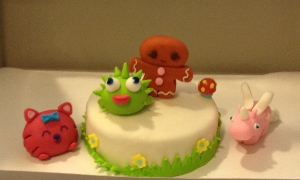
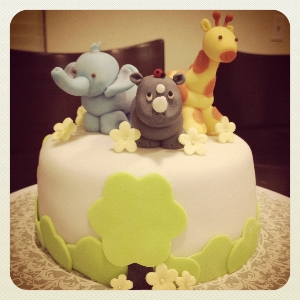
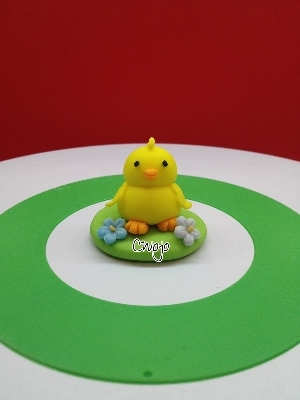
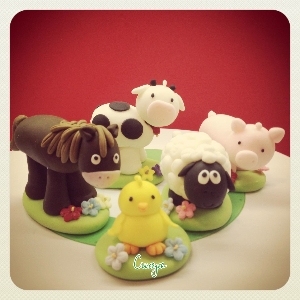
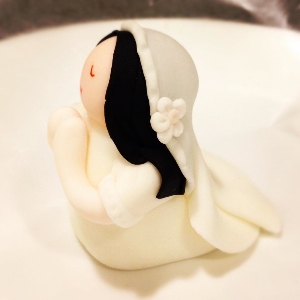
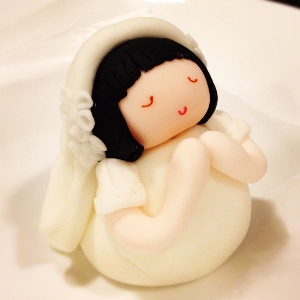
Character Cakes
I've been inspired by Ace of Cakes and Cake Boss in creating sculpted figures made out of fondant. Who knew one could learn from reality TV? About 10 years ago, I made my first cake topper out of Crayola Clay Mold. It was inedible, so I had to mount it on a food-safe stand. Now cake stuff is everywhere from fondant to molds to tools of the trade. Calijavaonline.com has a great assorment of ready made flowers, baking and decorating tools. They've got some awesome "how to" videos on cake decorating.
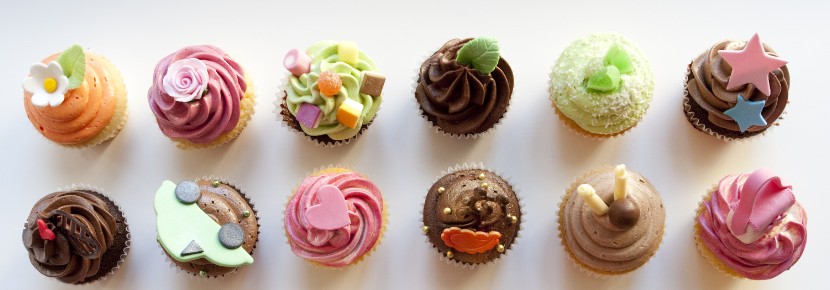
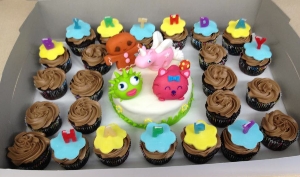
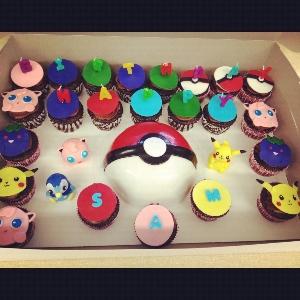
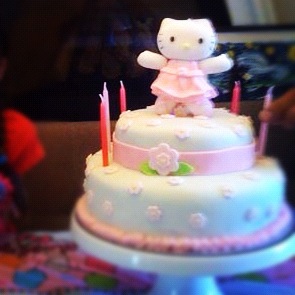
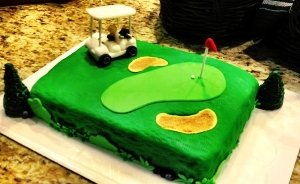
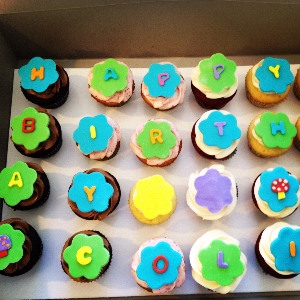
More Cakes and Cupcakes
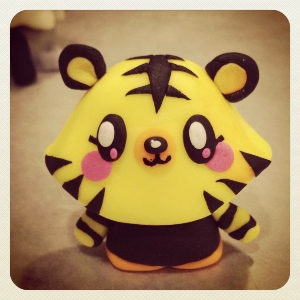
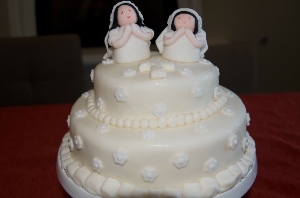
How I make Fondant Figures
1. Prepping
I use Wilton Ready-to-Use Pure White fondant on all my figures. I get the 5 lb. box, since I can use it for several figures, usually for 2 cakes to cover and make figures. I buy them at Michael's Craft Store using my 50% or 40% off coupons. So, for $10, I can create this fabulous one of a kind cake for someone special.
To color my fondant, I use Wilton colored gels. Gels are much better to handle than the liquid dyes. I use a toothpick to pick up colors from the gel bottles. I also use gloves so the dyes do not get all over my hands. To keep it from getting too sticky, I either use corn starch or powdered sugar, just don't overdo or else it won't be pliable. One rule I've learned..reds and blacks are the hardest to make, so buy them pre-made.
Before I start decorating a cake, I usually make all my fondant colors. This helps me with time management. So I pre-make all my fondant colors and to store them. I roll each fondant color into a ball, wrap it with plastic wrap, and put it in a gallon size Ziploc bag, making sure all the air in the bag is out. I'm still looking for another greener way to attain this.
2. Molding your figure
3. Drying